
Braeburn 2020 Thermostat Manual: A Comprehensive Guide
Welcome! This manual unlocks your Braeburn 2020’s potential, offering a step-by-step guide to wiring, programming, and troubleshooting for optimal home comfort control.
The Braeburn 2020 is a sophisticated, programmable thermostat designed to provide precise temperature control and energy savings within your home. This model offers a user-friendly interface combined with advanced features, making it suitable for a wide range of HVAC systems. Whether you’re upgrading from a traditional thermostat or installing a new system, the Braeburn 2020 delivers reliable performance and customizable comfort.
This manual serves as a comprehensive resource, guiding you through every aspect of the thermostat – from initial installation and wiring configurations to detailed programming instructions and troubleshooting common issues. It’s designed for both homeowners and HVAC professionals, ensuring a smooth and efficient setup process. Discover how to maximize the benefits of your new Braeburn thermostat and enjoy a consistently comfortable living environment.
Key Features and Benefits
The Braeburn 2020 boasts several key features designed for convenience and efficiency. Programmable 7-day/2-day schedules allow for customized temperature settings tailored to your lifestyle, reducing energy consumption when you’re away or asleep. A large, easy-to-read display provides clear temperature readings and system status at a glance. Its compatibility with various HVAC systems – including heat pumps, forced air, and radiant heat – offers versatile installation options.
Beyond basic functionality, the 2020 includes features like a backlit display for easy viewing in low light, and a hold function for temporary temperature overrides. Enjoy precise temperature control, reduced energy bills, and a more comfortable home environment. This thermostat empowers you to manage your home’s climate effectively and efficiently, providing long-term savings and convenience.

Installation Guide
Begin installation by carefully reviewing the wiring diagrams and safety precautions. Proper wiring and secure mounting are crucial for optimal performance and longevity.
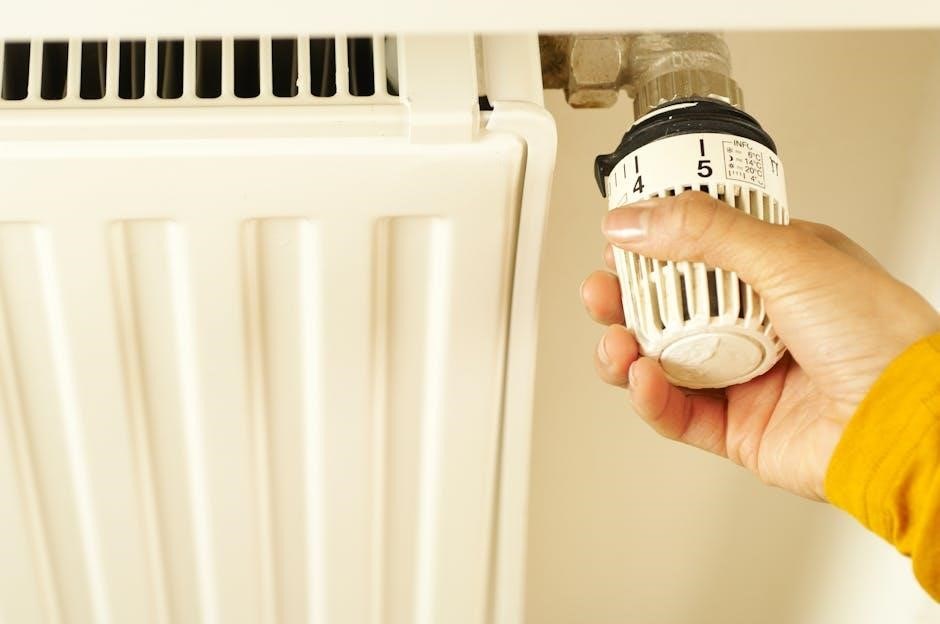
Wiring Diagrams for Common HVAC Systems
Understanding your HVAC system’s wiring is paramount before installing the Braeburn 2020. This section provides detailed diagrams for common configurations, including conventional, heat pump, and multi-stage systems. Carefully identify your existing wiring before disconnecting anything.
Conventional Systems: Typically involve Rh, Rc, W, G, and Y wires. Rh powers the heating, Rc the cooling, W activates the heat, G controls the fan, and Y activates the cooling.
Heat Pump Systems: Utilize different designations like O/B for reversing valve control, and may include auxiliary heat wiring (AUX).
Multi-Stage Systems: Employ additional wires (W2, Y2) to control multiple heating and cooling stages for enhanced comfort and efficiency. Always consult a qualified HVAC technician if you are unsure about any wiring connections. Incorrect wiring can damage your system or the thermostat.
Mounting the Thermostat Base
Proper mounting ensures stable operation and a clean installation of your Braeburn 2020. Begin by carefully removing your old thermostat, labeling each wire as you disconnect it – this is crucial! Use the included mounting screws and wall anchors to securely attach the thermostat base to the wall.
Ensure the base is level for accurate temperature readings and a professional appearance. A small bubble level is recommended. Route the thermostat wires through the opening in the base, leaving enough slack for easy connection.
Avoid mounting the thermostat in direct sunlight, near drafts, or close to heat-generating appliances, as this can affect temperature accuracy. Double-check that the base is firmly secured before proceeding to the wiring stage.
Connecting the Wiring – Step-by-Step
Carefully connect the labeled wires to the corresponding terminals on the Braeburn 2020 thermostat base. Refer to the wiring diagram specific to your HVAC system – incorrect wiring can damage your equipment! Typically, ‘R’ is for power, ‘C’ is the common wire, ‘W’ controls heating, ‘Y’ controls cooling, and ‘G’ operates the fan.

Ensure each wire is securely inserted into its terminal, avoiding loose connections. Gently tug on each wire to confirm it’s firmly held. If you encounter any difficulty, double-check your wiring diagram and wire labels.
Once all wires are connected, carefully tuck them back into the wall opening and secure the thermostat faceplate to the base. Power on your HVAC system to test the connections.

Programming Your Braeburn 2020
Customize your comfort! Easily set schedules for heating and cooling, utilizing hold functions for temporary overrides and maximizing energy efficiency within your home.
Setting the Date and Time
Accurate timekeeping is crucial for proper scheduling. Begin by accessing the thermostat’s menu – typically through the ‘Menu’ or ‘Settings’ button. Navigate to the ‘Date and Time’ option. You’ll likely encounter separate fields for month, day, and year. Use the up and down arrow buttons to adjust each value correctly.
Next, set the time. The format is usually 12 or 24-hour, selectable within the settings. Again, utilize the arrow buttons to precisely input the hour and minute. Confirm your selections by pressing ‘Save’ or ‘Done’.
Important Note: Some Braeburn 2020 models may automatically synchronize with a network if connected to Wi-Fi, eliminating the need for manual adjustments. Verify your model’s capabilities in the full manual for detailed instructions and troubleshooting tips.
Creating a Heating Schedule
Efficient heating relies on a well-defined schedule. Access the ‘Schedule’ or ‘Programming’ menu on your Braeburn 2020. You’ll typically define periods like ‘Wake,’ ‘Leave,’ ‘Return,’ and ‘Sleep.’ For each period, specify the start time and desired temperature. For example, set ‘Wake’ to 6:00 AM at 70°F, ‘Leave’ to 8:00 AM at 62°F, and so on.
Most models allow for different schedules for weekdays and weekends. Customize each day to match your lifestyle. Utilize the ‘Copy’ function to quickly replicate settings across multiple days. Remember to save your changes after each adjustment.
Pro Tip: Experiment with temperature setbacks during unoccupied periods to maximize energy savings without sacrificing comfort. Consult the full manual for advanced scheduling options.
Creating a Cooling Schedule
Optimize your comfort and energy usage with a customized cooling schedule. Navigate to the ‘Schedule’ or ‘Programming’ menu on your Braeburn 2020. Similar to heating, define periods like ‘Wake,’ ‘Leave,’ ‘Return,’ and ‘Sleep,’ assigning a start time and desired cooling temperature to each. For instance, set ‘Wake’ to 7:00 AM at 75°F, ‘Leave’ to 9:00 AM at 78°F, and so forth.
Take advantage of the ability to create separate schedules for weekdays and weekends, tailoring the cooling to your specific routines. The ‘Copy’ function streamlines the process of applying settings across multiple days. Always save your changes after making adjustments.
Energy-saving tip: Increase the temperature setting during unoccupied hours to reduce cooling costs without compromising comfort upon your return.
Using the Hold Function
The ‘Hold’ function overrides your programmed schedule, maintaining a consistent temperature indefinitely or for a specified duration. Access the ‘Hold’ option typically via the ‘Menu’ or ‘Run’ button on your Braeburn 2020. You’ll be prompted to enter your desired temperature. Select ‘Permanent Hold’ for continuous operation at that temperature, ignoring the schedule.
Alternatively, choose ‘Temporary Hold’ and specify the number of hours the hold should remain active. After the set time, the thermostat automatically reverts to the programmed schedule. Remember to cancel the hold if you wish to resume scheduled programming sooner.
Convenience tip: Utilize ‘Hold’ for unexpected schedule changes, like a spontaneous evening at home, ensuring consistent comfort without manual reprogramming.

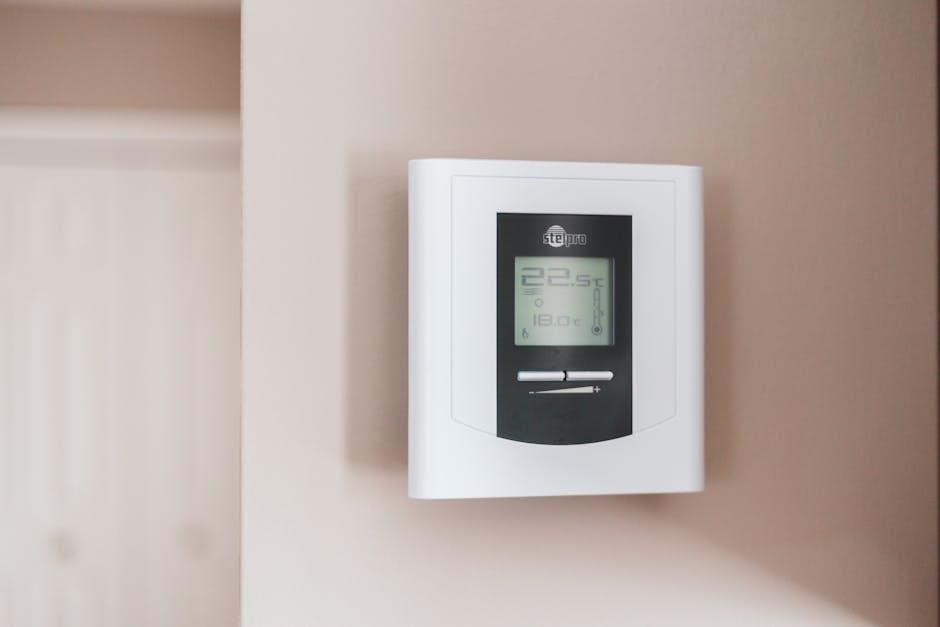
Understanding the Display and Controls
Navigate with ease! This section details the Braeburn 2020’s display icons and button functions, empowering you to confidently manage your home’s temperature settings.
Display Icons and Their Meanings
Decoding the Display: The Braeburn 2020 utilizes a variety of icons to communicate the current system status and settings. A flaming icon indicates the heating system is actively running, providing warmth to your home. Conversely, a snowflake icon signifies the cooling system is engaged, delivering refreshing air.
A fan icon displays the fan’s operational mode – ‘Auto’ for automatic operation with heating or cooling, and ‘On’ for continuous fan circulation. The battery icon alerts you to low battery levels, prompting a replacement to ensure uninterrupted operation. A Wi-Fi icon, if present on your model, confirms a successful connection to your home network.
The clock icon shows the currently set time, while the calendar icon indicates the date. A hold icon signifies that the programmed schedule is temporarily overridden. Finally, a filter icon will illuminate as a reminder to change your air filter, maintaining optimal air quality and system efficiency. Understanding these icons is crucial for effective thermostat management.
Button Functions Explained
Mastering the Controls: The Braeburn 2020 features intuitive button controls for seamless operation. The ‘Menu’ button accesses the main settings menu, allowing adjustments to system configurations, scheduling, and advanced features. Use the ‘Up’ and ‘Down’ arrow buttons to navigate through menu options and adjust temperature setpoints.
The ‘Fan’ button cycles through fan modes – ‘Auto’ and ‘On’ – controlling air circulation. Pressing the ‘Mode’ button toggles between heating, cooling, and off modes, selecting your desired climate control. The ‘Hold’ button temporarily overrides the programmed schedule, maintaining a constant temperature.
A short press of the ‘Hold’ button activates a temporary hold, while a longer press cancels it, resuming the scheduled program. Familiarizing yourself with these button functions will empower you to effortlessly manage your home’s comfort levels and optimize energy efficiency.

Troubleshooting Common Issues
Don’t Panic! This section provides solutions for typical problems like power failures, inaccurate readings, and connectivity glitches with your Braeburn 2020.
Thermostat Not Powering On
Problem: Your Braeburn 2020 thermostat displays a blank screen and doesn’t respond to button presses. This is often a simple fix, but requires systematic checking.
Possible Causes & Solutions:
- Check the Power Supply: Ensure the HVAC system’s power switch is ON. A tripped breaker or blown fuse can cut power to the thermostat. Reset breakers or replace fuses as needed.
- Verify Wiring Connections: Carefully inspect the wiring at both the thermostat base and the HVAC unit. Loose or disconnected wires are a common culprit. Refer to the wiring diagram in the Installation Guide.
- Battery Check (if applicable): Some Braeburn 2020 models utilize batteries as a backup or primary power source. Replace the batteries with fresh ones, ensuring correct polarity.
- C-Wire Requirement: The Braeburn 2020 often requires a “C-wire” (common wire) for consistent power. If you don’t have a C-wire, you may need to install one or use a C-wire adapter.
- Faulty Thermostat: If all else fails, the thermostat itself may be defective. Contact a qualified HVAC technician for diagnosis and potential replacement.
Caution: Always turn off power to the HVAC system before working with wiring!
Incorrect Temperature Readings
Problem: The Braeburn 2020 displays a temperature that doesn’t match a reliable thermometer in the same room. This can lead to inefficient heating or cooling and discomfort.
Possible Causes & Solutions:
- Thermostat Location: Avoid placing the thermostat in direct sunlight, near heat sources (lamps, appliances), or in drafty areas. These factors can skew readings.
- Calibration: The Braeburn 2020 may have a temperature offset or calibration setting. Consult the Advanced Settings section of this manual to adjust the displayed temperature.
- Airflow Obstruction: Ensure nothing is blocking airflow around the thermostat. Dust or debris can also affect accuracy. Gently clean the thermostat’s exterior.
- Sensor Malfunction: In rare cases, the internal temperature sensor may be faulty. Contact a qualified HVAC technician for diagnosis and potential replacement.
- Wiring Issues: Incorrect wiring can sometimes cause inaccurate readings. Double-check the wiring connections against the Installation Guide’s diagram.
Connectivity Problems (if applicable)
Issue: If your Braeburn 2020 model supports Wi-Fi connectivity, you might encounter issues connecting to your home network or maintaining a stable connection. This impacts remote control and smart features.
Troubleshooting Steps:
- Network Check: Verify your home Wi-Fi network is functioning correctly with other devices. Restart your router if necessary.
- Signal Strength: Ensure the thermostat is within range of your Wi-Fi router. Weak signals cause intermittent connectivity.
- Password Verification: Double-check the Wi-Fi password entered during setup. Incorrect credentials prevent connection.
- Thermostat Restart: Power cycle the thermostat by removing and reinserting the batteries (if applicable) or turning off the breaker.
- App Update: Ensure you’re using the latest version of the Braeburn Home app on your smartphone or tablet.
- Factory Reset: As a last resort, consult the Advanced Settings for instructions on performing a factory reset of the Wi-Fi module.

Advanced Settings & Features
Explore customization! Discover filter change reminders, swing temperature adjustments, and backlight control options within the Braeburn 2020’s advanced settings menu.
Filter Change Reminders
Maintaining optimal air quality and HVAC system efficiency relies heavily on regularly changing your air filter. The Braeburn 2020 thermostat offers a convenient filter change reminder feature to help you stay on schedule. This proactive approach prevents dust and debris buildup, ensuring consistent airflow and reducing strain on your heating and cooling system.
To set the reminder, navigate to the “Advanced” menu within the thermostat settings. You’ll be prompted to enter the number of days you want between reminders – typically 30, 60, or 90 days, depending on your filter type and usage. Once set, the thermostat will display a notification when it’s time for a replacement. Ignoring these reminders can lead to reduced efficiency, higher energy bills, and potential system malfunctions. Remember to always turn off the HVAC system before changing the filter!
Swing Temperature Adjustment
The “Swing” setting, also known as temperature differential, controls the range of temperatures your HVAC system operates within before cycling on or off. Adjusting this setting impacts comfort and energy efficiency. A smaller swing (e.g., 1°F) provides more consistent temperatures but can lead to more frequent cycling, potentially shortening equipment lifespan. A larger swing (e.g., 3°F) allows for less frequent cycling, saving energy, but may result in noticeable temperature fluctuations.
To adjust the swing, access the “Advanced” menu on your Braeburn 2020. Experiment to find the optimal balance between comfort and energy savings. Consider your home’s insulation and your personal temperature preferences. A wider swing is often suitable for well-insulated homes, while tighter swings are better for drafty spaces. Careful adjustment ensures a comfortable and efficient heating/cooling experience.
Backlight Control
The Braeburn 2020 features adjustable backlight settings for enhanced visibility in low-light conditions. You can customize the backlight’s brightness and duration to suit your preferences and conserve energy. Access the “Advanced” menu on your thermostat to modify these settings. Options typically include “Off,” “Auto,” and varying brightness levels like “Low,” “Medium,” and “High.”
“Auto” mode activates the backlight briefly when the thermostat senses motion or a button press. Adjusting the duration controls how long the backlight remains illuminated. A shorter duration saves energy, while a longer duration provides greater convenience. Experiment with different settings to find the optimal balance between visibility and power consumption. A dimmer backlight also extends battery life if your model uses batteries.

Maintenance and Care
Keep your Braeburn 2020 functioning optimally! Regular cleaning and, if applicable, battery checks ensure accurate temperature readings and long-lasting performance.
Cleaning the Thermostat
Maintaining a clean thermostat is crucial for accurate performance and longevity. Before cleaning, always ensure the system is switched off at the breaker to prevent electrical shock. Gently remove the thermostat cover – consult your installation guide if unsure how. Use a soft, dry microfiber cloth to wipe down the display screen and the thermostat base.
Avoid using liquid cleaners, abrasive materials, or excessive moisture, as these can damage the sensitive electronic components. For stubborn smudges, lightly dampen the cloth with water, ensuring it’s almost dry before wiping. Pay attention to the vents, carefully dusting them to ensure proper airflow. Once clean and dry, reattach the cover securely. Regular dusting – approximately every month – will prevent buildup and maintain optimal functionality. This simple routine contributes significantly to the reliable operation of your Braeburn 2020 thermostat.
Battery Replacement (if applicable)
Your Braeburn 2020 thermostat may require battery backup or operate solely on batteries, depending on the model and wiring configuration. If a low battery indicator appears on the display, it’s time for a replacement. First, always switch off the HVAC system at the breaker for safety. Gently remove the thermostat cover, referencing the installation guide if needed.
Note the battery type required – typically AA or AAA – and replace all batteries simultaneously with fresh ones, even if only one appears depleted. Incorrect battery installation can cause malfunctions. Ensure proper polarity (+ and -) alignment. Once replaced, reattach the cover securely and restore power at the breaker. Regularly check the battery indicator to proactively prevent interruptions in your heating and cooling control. Proper battery maintenance ensures continuous operation.